How to make a product demo video from your website link
A step-by-step guide to turning your product's website into a narrated demo video, a written guide and a slide deck, without recording or editing.
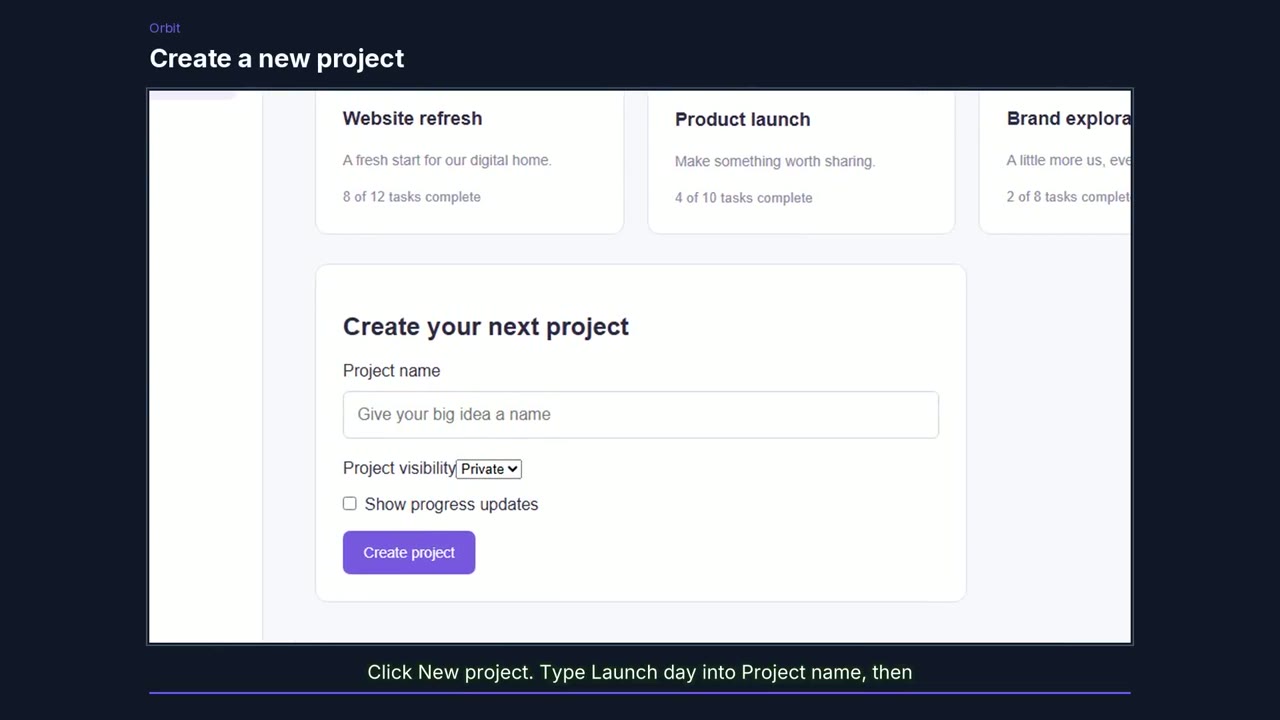
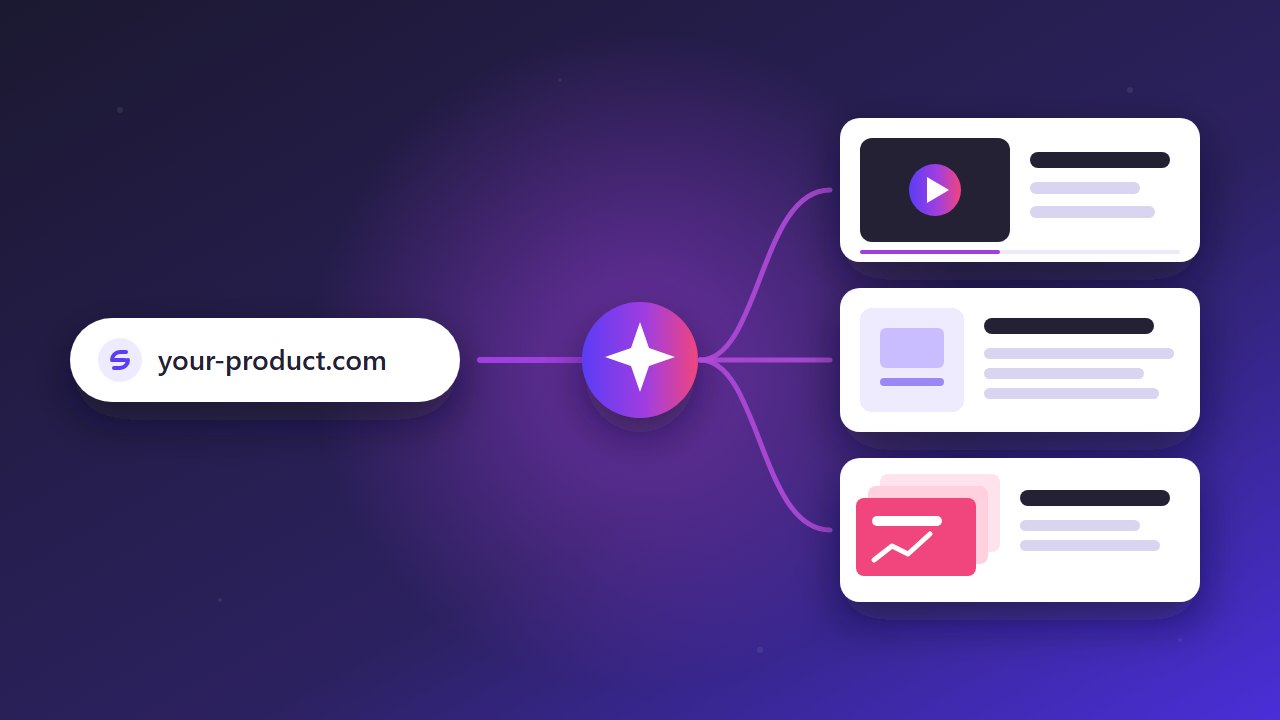
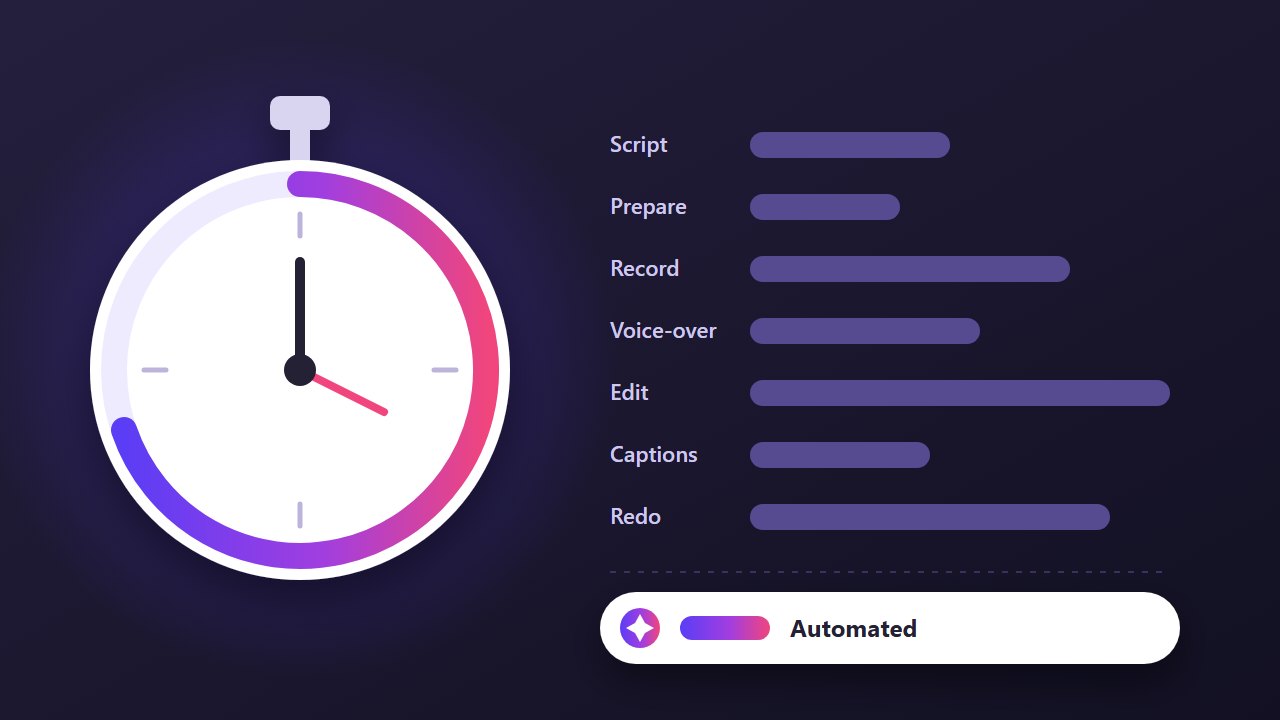
Most products need a demo long before anyone has time to make one. The usual route is a screen recorder, a script, several takes, a voice-over and an editing session. This guide shows a shorter route: start from the link to your product and let DemoVisor do the recording, narration and editing, while you decide what the video shows.
1. Pick one workflow to show
A good demo answers one question: what does this product do for me? Choose the single workflow that answers it best, such as creating a first project, sending an invoice or running a report. Write it down as a short sentence, for example "Sign up, create a project and invite a teammate".
One workflow per video keeps it short and clear. If you have three things to show, make three short videos rather than one long one.
2. Paste your link and describe the flow
In DemoVisor, paste the address of your product and add the sentence from step one. If your product has a README, a help page or a feature list, add it too: the more DemoVisor knows about the product, the closer the plan gets to what you would show yourself.
If the workflow happens inside your app, add a demo account or sign in once in the live sign-in window, so the recording starts signed in. Use an account with realistic sample data, never a real customer's.
3. Review the plan before anything is recorded
DemoVisor reads your site and writes a scene-by-scene plan: what each scene shows, the narration, and the clicks and typing it will perform. Nothing is recorded until you approve it. This is the moment to fix the order, cut a scene, or rewrite a line in your own words.
Keep the whole video between 45 and 90 seconds for a first demo. Viewers decide quickly whether a product is for them, and a short video gets watched to the end.
4. Record, narrate and render
Once you approve, DemoVisor opens a real browser, carries out each step on your live site and records it. It practises the steps first, so a button that moved since the plan was written is caught before recording. Then it adds the narration, captions, a smooth pointer and transitions, and renders the video.
You get more than the video: an illustrated step-by-step guide as a PDF, a slide deck, captions and the narration script, all from the same recording.
5. Polish, then publish
Watch the result once with the sound on. In Studio you can reorder or trim scenes, change any line of narration and render again without recording again.
Then put it where people will see it: your homepage, your launch post, your onboarding emails and your app store or directory listings. A share link plays the video for anyone, and you can publish it on DemoVisor Explore for other founders to find.
When a site will not open
Some sites block automated browsers with a bot check. For those, record your own screen while you use the product and upload the recording. DemoVisor writes the narration from what it sees and makes the same video, guide and deck.

DemoVisor
Make a demo of your product today
Paste a link, review the plan, and get a narrated video, a guide and a slide deck. No recording, no editing.
Try it free See real examples